
To diagnose charging system failures, start by verifying that your charger and device are compatible and match in voltage and current. Inspect the connectors for corrosion, dirt, or damage, and clean them gently with isopropyl alcohol if needed. Make certain the cable and connection are secure and try different outlets to rule out power source issues. Checking these basics can help identify the problem, and you’ll discover more ways to troubleshoot effectively as you continue.
Key Takeaways
- Verify device and charger compatibility by matching voltage and current specifications before troubleshooting.
- Inspect connectors for corrosion, dirt, or debris; clean gently with isopropyl alcohol and soft tools.
- Ensure all connections are secure, undamaged, and test with different cables and ports if needed.
- Check power sources by testing outlets with other devices to confirm consistent voltage supply.
- Confirm battery health and replace damaged cables or connectors to resolve charging system failures.
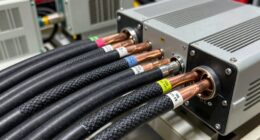
Chargers and connectors are essential for keeping your devices powered, but when they stop working properly, it can be frustrating. The first step in troubleshooting is to check the compatibility between your charger and your device’s battery. Not all chargers are created equal, and using one that isn’t compatible can prevent your device from charging correctly or at all. Look for specifications on your device and charger to confirm they match, especially voltage and current ratings. Using an incompatible charger can also cause damage over time, so it’s important to verify that they’re designed to work together. If your device still isn’t charging after confirming compatibility, you might need to contemplate other issues like connector corrosion.
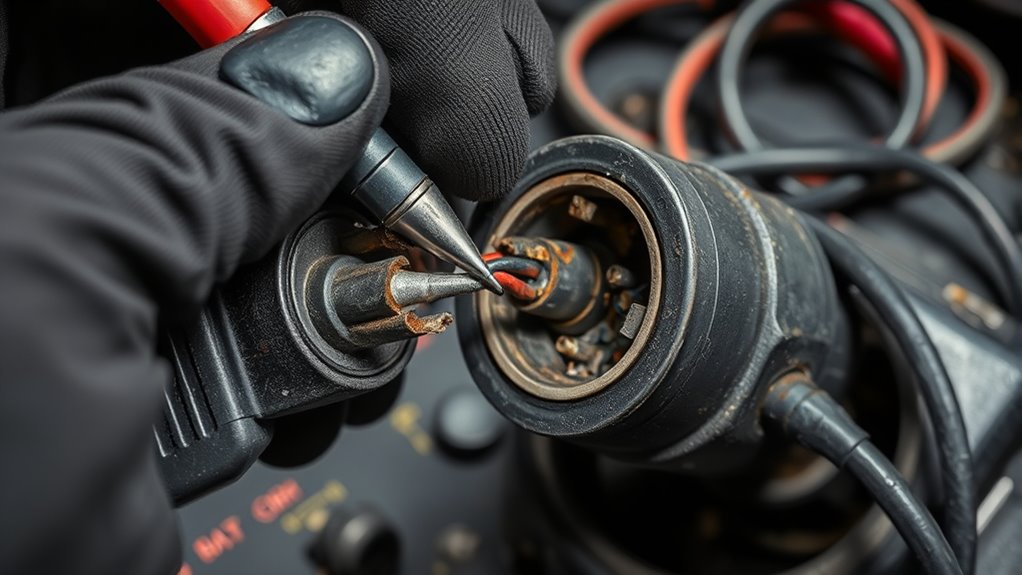
Connector corrosion is a common problem that hampers charging performance. Over time, dirt, dust, moisture, or even corrosion caused by oxidation can accumulate at the connection point, disrupting the flow of electricity. Inspect the connector carefully; if you notice any greenish or whitish deposits, rust, or debris, corrosion is likely the culprit. To fix this, power off your device and gently clean the connector with a soft brush, a cotton swab dipped in isopropyl alcohol, or compressed air. Be gentle to avoid damaging the pins or ports. Once cleaned, reconnect the charger and see if the device begins charging normally. If corrosion persists or the connection remains loose, replacing the damaged cable or port might be necessary.
Beyond corrosion, verify the physical connection is secure. Sometimes, connectors can become loose or damaged from frequent plugging and unplugging. Wiggle the cable slightly while observing if the device recognizes the connection or shows charging. Frayed or bent pins also signal the need for a replacement. If your charger uses a detachable cable, try swapping it with another compatible cable to determine if the issue lies with the cord itself. Loose or damaged connectors can prevent proper electrical contact, leading to intermittent charging or complete failure.
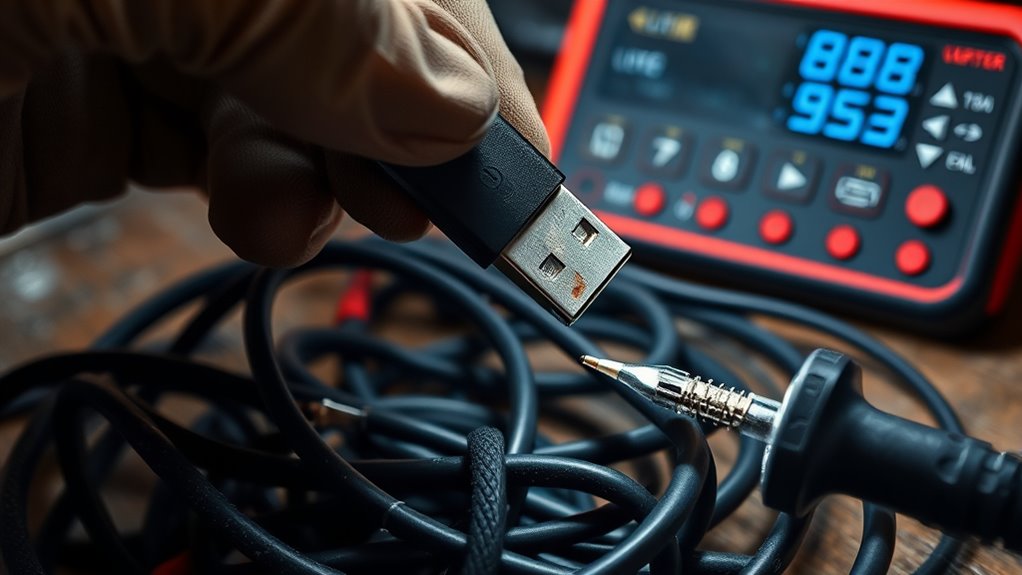
Additionally, check the power source. Sometimes, the issue isn’t with your charger or connector but with the outlet or power strip. Test different outlets, and ensure your power source is supplying consistent voltage. Faulty outlets or surge protectors can interrupt the charging process. If you’re using a wall adapter or USB port, make sure it’s functioning properly by trying a different device with the same outlet. Increased use of automation in manufacturing and repair processes can also help identify and resolve these issues more efficiently.
In essence, troubleshooting charging issues involves verifying battery compatibility, inspecting and cleaning connectors for corrosion, ensuring secure connections, and confirming the power source is functioning properly. Taking these steps can help you identify the root cause of charging failures and get your device back to full power efficiently.
Top picks for "diagnos charg system"
Open Amazon search results for this keyword.
As an affiliate, we earn on qualifying purchases.
Frequently Asked Questions
How Do I Prevent Future Charging System Failures?
To prevent future charging system failures, regularly perform battery maintenance like cleaning terminals and checking fluid levels. Consider upgrading your charger to a more reliable, modern model that matches your vehicle’s needs. Avoid using damaged or low-quality chargers, and inspect cables and connectors for wear or corrosion. Proper maintenance and timely upgrades guarantee your charging system stays efficient, reducing the risk of unexpected failures and extending your vehicle’s lifespan.
What Are Signs of Internal Charger Damage?
If you notice your charger isn’t working properly, look for signs of internal component damage like unusual heat, strange noises, or a burning smell. Corrosion indicators, such as rust or greenish deposits, also suggest internal damage. You might see visible corrosion on connectors or inside the charger. These signs mean internal components are compromised, and you should consider replacing or repairing the charger to prevent further issues.
Can Environmental Factors Affect Charger Performance?
Environmental factors definitely impact your charger’s performance. Electromagnetic interference from nearby devices can disrupt the charging process, causing slow or inconsistent charging. Additionally, chargers are temperature sensitive; extreme heat can overheat internal components, while cold temperatures may reduce efficiency. To guarantee optimal performance, keep your charger away from strong electromagnetic sources and avoid exposing it to extreme temperatures. Proper storage and usage can prolong its lifespan and maintain reliable charging.
How Often Should I Inspect Charging Connectors?
Consistently check your charging connectors to prevent problems. You should inspect them at least once a month, especially if you notice issues like connector corrosion or wear and tear. Regular inspections help catch corrosion, dirt, or damaged pins early, ensuring a strong connection. By maintaining a routine, you’ll prevent potential failures and prolong the life of your charger and equipment. Stay vigilant, and your charging system will stay reliable.
Are There Recommended Safety Precautions During Troubleshooting?
Yes, you should follow recommended safety precautions during troubleshooting. Always prioritize electrical safety by disconnecting the power source before inspecting or working on chargers and connectors. Wear insulated gloves and use tools with insulated handles to prevent shocks. Keep the work area dry and avoid contact with water. Personal precautions include wearing safety goggles and ensuring you’re grounded to prevent static discharge. Staying vigilant minimizes risks and keeps you safe while troubleshooting.
Conclusion
So, next time your charger acts up, remember that sometimes a simple connection slip can cause the fuss. It’s funny how often a quick check or a gentle clean solves the mystery—just like finding that lost sock in the laundry. Keep an eye on those connectors, and don’t forget that a little patience often turns frustrating failures into easy fixes. After all, troubleshooting is just part of the journey to keeping your devices happily powered up.