
TL;DR
Moving your rig into another room or closet is often the best way to reduce noise. Proper placement, ventilation, and targeted acoustic treatment inside small spaces significantly improve sound quality and silence. For detailed guidance, see acoustic dampening and placement tips. Foam alone isn’t enough—think about the whole environment.
Ever notice how that loud GPU tower ruins your day? Or how a tiny, untreated closet makes your vocals sound harsh and boxy? The secret isn’t just about throwing foam on the walls. It’s about smart placement—moving the rig away from your ears and carefully treating the space around it. You can learn more about acoustic treatment and setup for optimal sound quality.
This article reveals why distance is your best friend, how to turn your closet into a quiet, natural-sounding booth, and what common pitfalls to avoid. Whether you want a whisper-quiet workspace or better recordings, you’ll learn the real tricks that make a difference.
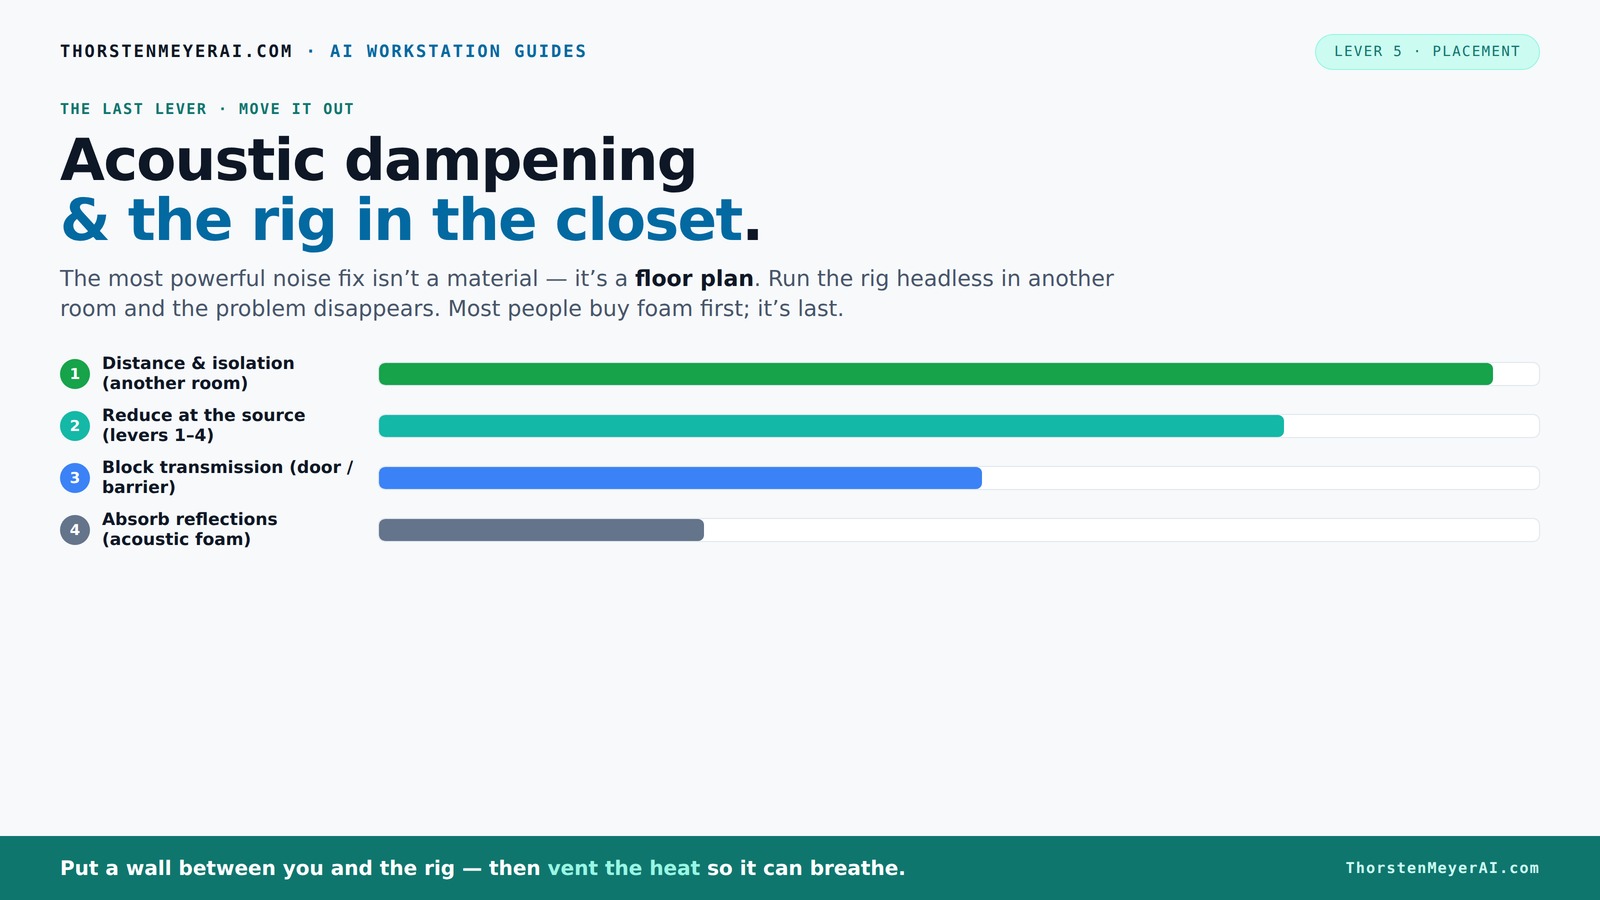
Acoustic dampening
& the rig in the closet.
The most powerful noise fix isn’t a material — it’s a floor plan. A rig you can’t hear because it’s in another room beats any amount of foam. Tap the approaches in Part 1 to see what actually works.
(another room)
(levers 1–4)
(door / barrier)
(acoustic foam)
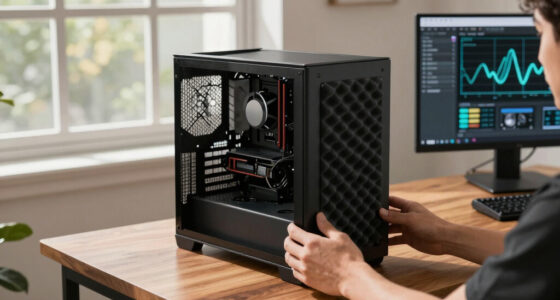
Contain the noise, not the heat
Key Takeaways
- Moving your rig into another room or closet is the most effective noise reduction method.
- Proper ventilation is critical when placing a hot, powerful machine in an enclosed space.
- Acoustic dampening focuses on reducing echo and reverb, not soundproofing—know the difference.
- Placement of foam and blankets at reflection points greatly improves room sound and recording quality.
- sealing gaps and treating reflective surfaces like doors and floors cut sound leaks and improve clarity.

72in 3-Panel Soundproof Room Divider with Wheels, Heavy-Duty Acoustic Partition Temporary Wall for Noise Reduction, Portable Divider for Home Hospital Library Classroom - Light Grey
【Noise Reduction】Our room divider can absorb at least 85% of the noise, creating a quiet environment without being...
As an affiliate, we earn on qualifying purchases.
As an affiliate, we earn on qualifying purchases.
Why Distance and Placement Outperform Foam and Absorption
When it comes to noise reduction, the biggest gains come from moving your rig away from you. Sound travels through air and solid surfaces, but the easiest way to cut noise is to put physical space between you and the source.
Think about it: a GPU in another room? You barely hear it. But that same GPU right next to your desk? It’s loud as a jet engine. The key is that sound diminishes with distance — roughly halving every time you double the space.
For example, if your rig is in a closet on the other side of the house, it’s practically silent to you. All you need is a good network connection. The noise and heat are contained, and your workspace stays peaceful.

Focusound 52 Pack Acoustic Foam Panels 1" x 12" x 12" Sound Proof Foam Panles Soundproofing Noise Cancelling Wedge Panels for Home Office Recoding Studio with 300PCS Double-Side Adhesive
Soundproofing - Acoustic foam panels triangular grooves structure for better noise absorption, helps to reduce and absorb unwanted...
As an affiliate, we earn on qualifying purchases.
As an affiliate, we earn on qualifying purchases.
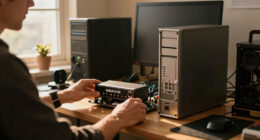
The 'Rig in the Closet' Setup: Pros, Cons, and How to Do It Right
Placing your rig in a closet or cabinet is a game-changer for noise. It isolates the sound, keeps your workspace silent, and frees up desk space. Learn more about proper closet setup and ventilation.
Without proper ventilation, a sealed closet traps heat, causing temperatures to skyrocket. This not only risks damaging your hardware but also triggers fans to ramp up—exactly what you’re trying to avoid.
To do it right, add active ventilation—like a quiet exhaust fan—and ensure airflow pathways. Use ducted systems or purpose-built soundproof cabinets with temperature controls. This way, your rig stays cool, quiet, and safe.

TroyStudio Thickened Acoustic Panels, 16 x 12 x 0.5 Inches Pack of 6 Felt Wall Decor Tiles Sound Absorbing Board, Noise Reverb Echo Dampening Soundproof Padding for Door Music Recording Home Studio
【SPECIFICATION】 : Size - 16 x 12 x 0.5 inches, pack of 6; Covering 8 square feet; Weight...
As an affiliate, we earn on qualifying purchases.
As an affiliate, we earn on qualifying purchases.
Acoustic Dampening vs. Soundproofing: What's Really Needed?
Many folks think foam panels or blankets will turn their closet into a soundproof vault. But that’s not true soundproofing. Acoustic dampening reduces echo and reverberation inside the space, making recordings sound clearer and more natural. You can explore more about acoustic dampening techniques.
Soundproofing, on the other hand, blocks sound from leaking out or in. It’s much harder, especially in DIY setups, because it requires massive insulation or structural changes. Typically, foam and blankets are about dampening—improving sound quality inside a small room, not stopping sound from escaping.
Understanding this difference helps you set realistic expectations. If your goal is to stop neighbors from hearing your loud gaming sessions, you’ll need substantial insulation. But if you want cleaner recordings, damping is your go-to. The tradeoff is that dampening materials are easier to implement but won't fully contain sound leaks. Choosing the right approach depends on your priorities—quiet workspace, better recordings, or both.

Audio-Technica ATH-M20x Professional Studio Monitor Headphones, Black
Advanced build quality and engineering; Designed for studio tracking and mixing
As an affiliate, we earn on qualifying purchases.
As an affiliate, we earn on qualifying purchases.
Where to Place Foam, Blankets, and Panels for Best Reflection Control
Placement beats quantity when it comes to acoustic treatment in small spaces. Start by identifying reflection points—where sound bounces directly off walls, ceiling, or the door. For more on optimal placement, see placement strategies for acoustic treatment.
Common spots include the wall behind the mic and the surfaces facing the sound source. Use thin foam panels or blankets in these spots to absorb harsh echo.
For instance, placing foam at the wall behind your mic reduces slap echo dramatically, making vocals sound warmer and less hollow. Add rugs on the floor and soft fabrics on the door for even better results.
Recent DIY trends emphasize treating not just corners but all reflective surfaces around your microphoning area for a balanced sound. The key is understanding how sound interacts with different surfaces—hard, reflective surfaces bounce sound that causes echo, while soft, textured materials absorb it. Effective placement means targeting the actual reflection points, which can vary based on your setup. This strategic approach ensures you get the most benefit from each piece of treatment, avoiding wasteful overuse of materials.
Do Corners Matter? Yes — But Not the Way You Think
Many believe bass traps in corners are the secret to good sound. While they help with low-end buildup, they’re just part of the story. In small closets, the most important reflection points are often the walls and ceiling near the mic, not just the corners.
For example, adding broadband absorption across walls and ceiling can tame harshness better than focusing solely on corners. Corners matter for bass, but mid and high frequencies need treatment at reflection points.
In a small space, treating all significant reflection points—like the wall behind the mic and the ceiling—can dramatically improve clarity. Using diffusers or thicker panels in these areas helps scatter or absorb problematic frequencies, leading to a more balanced, natural sound. The tradeoff is that over-focusing on corners can neglect the broader picture of sound interaction within the room, so a comprehensive approach yields better results.
Treating Doors, Gaps, and Floors for Complete Silence
Sound leaks through cracks, gaps, and under doors—biggest culprits in small spaces. Seal gaps with weatherstripping or acoustic sealant, and hang heavy blankets or curtains over the door for extra isolation. For comprehensive sealing tips, visit sealing and treatment advice.
Floors can reflect sound, especially if they’re hard surfaces like wood or tile. Placing a rug or carpet reduces floor reflections and makes the room sound less hollow.
For example, a thick blanket over the door combined with rugs on the floor can cut sound leaks by more than 80%, according to DIY acoustic experts. This comprehensive sealing and treatment not only reduces noise leakage but also prevents reflections from hard surfaces, significantly improving the overall sound environment. Keep in mind that small gaps or unsealed edges can undermine your entire setup, so meticulous attention to detail here yields the best results.
When a Closet Booth Works — and When It Doesn’t
A closet setup works well for voice-over, podcasts, and small recordings. The short space reduces echo, and with proper treatment, it sounds warm and controlled. But it’s not a one-size-fits-all solution.
If you need high-fidelity music recordings or have a large room, a closet might be too small or boxy. Also, if your hardware overheats or if you need soundproofing against neighbors, a closet isn’t enough.
For example, a voice actor can record perfect-sounding demos in a closet with foam and blankets, but a band recording drums needs a bigger, better-treated space. The key is understanding your specific needs and limitations. Closet booths excel for spoken word and small-scale projects but fall short when it comes to full-band recordings or high-volume sound isolation. Recognizing these limits helps you choose the right environment for your goals, avoiding frustration and subpar results.
Common Mistakes to Avoid When Setting Up Your Closet Rig
Overusing foam or blankets without considering reflection points can make your recordings sound dull or hollow. Ignoring gaps and door leaks leaves your space noisy. And sealing a closet without ventilation causes heat buildup.
Another mistake: relying solely on foam panels without addressing the room’s shape or surface textures. Adding soft, textured materials like rugs and blankets around the setup improves sound quality more than just foam.
For example, a DIYer once lined their closet with foam but didn’t seal gaps. The result? Persistent sound leaks and a muffled sound. Fixing gaps and adding a rug made a huge difference. Additionally, neglecting ventilation can lead to overheating, which not only risks hardware damage but also causes fans to run loudly—counteracting your noise reduction efforts. Proper planning involves balancing absorption with sealing and airflow management to achieve a clean, quiet environment.
Budget-Friendly Closet Studio Setup Checklist
- Use thick blankets or moving quilts to line walls and door
- Place foam panels at reflection points near the mic
- Add rugs or carpets on the floor
- Seal gaps with weatherstripping or acoustic sealant
- Install a quiet exhaust fan for ventilation
- Use a good-quality mic position—close to the sound source, away from reflective surfaces
Frequently Asked Questions
What is the difference between acoustic dampening and soundproofing?
Acoustic dampening reduces echo and reflections inside a space, making recordings sound warmer and clearer. Soundproofing blocks sound from entering or leaving, which requires heavier materials and structural changes—more difficult and costly to achieve DIY.
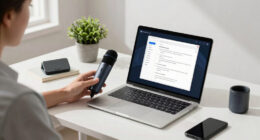
Where should I place the microphone in a closet booth?
Position the mic close to your mouth, ideally 6-12 inches away, and away from reflective surfaces like walls or the door. Focus on the reflection points behind and around the mic—adding absorption here improves clarity.
How do I treat the door and gaps for better sound isolation?
Seal gaps with weatherstripping or acoustic sealant, and hang heavy blankets or curtains over the door. This drastically reduces sound leaks, creating a more controlled recording environment.
Do I need bass traps in a small closet?
Yes, especially if you notice boomy lows or uneven bass response. Thick broadband panels or bass traps in corners help tame low-frequency buildup, giving your sound more balance.
Is acoustic foam enough for a small closet studio?
Foam helps with echo and reflections but isn’t enough alone. Combine it with blankets, rugs, and sealing gaps for a well-rounded, professional-sounding space.
Conclusion
Sometimes, the simplest solution is the best. Moving your noisy rig into a closet or another room, paired with smart placement and treatment, can transform a chaotic, echoey space into a quiet, professional-sounding studio.
Think of your closet as a blank canvas—add soft textures, seal gaps, and provide airflow. You’ll be amazed at how much cleaner and quieter your recordings and workspace become. The real magic is in the details—don’t just block sound, control it.