
Calibration is often overlooked but vital for professional 360° footage. It corrects lens distortion, guarantees accurate stitching, and creates seamless immersive experiences. Using the right tools and following proper procedures helps maintain image quality and avoid common mistakes like misalignment or skipped steps. Recalibrating regularly keeps your footage consistent and excellent. Keep going to discover expert tips that can help you master this essential step and achieve stunning results every time.
Key Takeaways
- Proper calibration prevents lens distortion and stitching errors, ensuring seamless 360° footage quality.
- Regularly follow calibration procedures using flat, well-lit environments and calibration targets for accuracy.
- Neglecting calibration steps leads to misaligned images, visible seams, and reduced immersive experience.
- Recalibrate after impacts, environmental changes, or prolonged inactivity to maintain optimal image quality.
- Using manufacturer guidelines and calibration tools enhances precision and avoids common mistakes.

NOOFNO 360 Car Camera Calibration Mats, Auto Diagnostic Grid Cloth Tools for Panoramic Bird's-Eye Vehicle Backup DVR System, E + A
COMPATIBILITY: Professional calibration mats designed for 360-degree panoramic bird's-eye view camera systems and DVR installations in vehicles
As an affiliate, we earn on qualifying purchases.
As an affiliate, we earn on qualifying purchases.
Why Calibration Is Critical for High-Quality 360° Footage

Have you ever noticed how even small misalignments in your 360° camera can ruin the immersive experience? Proper calibration is vital to prevent issues like lens distortion and misaligned images. When your camera isn’t correctly calibrated, the lenses may introduce distortion, causing curved or warped visuals that break the sense of immersion. Additionally, sensor alignment is essential; if the sensors aren’t perfectly aligned, stitching errors and gaps can appear in your footage, making it look unprofessional. Calibration ensures that all these elements work together smoothly, preserving the seamless 360° view you want to capture. Without it, your footage might look distorted, uneven, or jarring—ruining the viewer’s experience and defeating the purpose of a high-quality 360° shot. Exploring new frontiers in digital content emphasizes the importance of precise calibration for optimal results. For optimal hive health, understanding the importance of proper setup and sensor alignment can make all the difference in your project’s success.

12×9 Float Glass Substrate Visual Optics Correction Board Checkerboard Target Plate Diffuse Reflection Opacity Square Array (Size : 25x25mm)
High precision processing technology, low thermal expansion coefficient, high precision (±0.01mm).
As an affiliate, we earn on qualifying purchases.
As an affiliate, we earn on qualifying purchases.
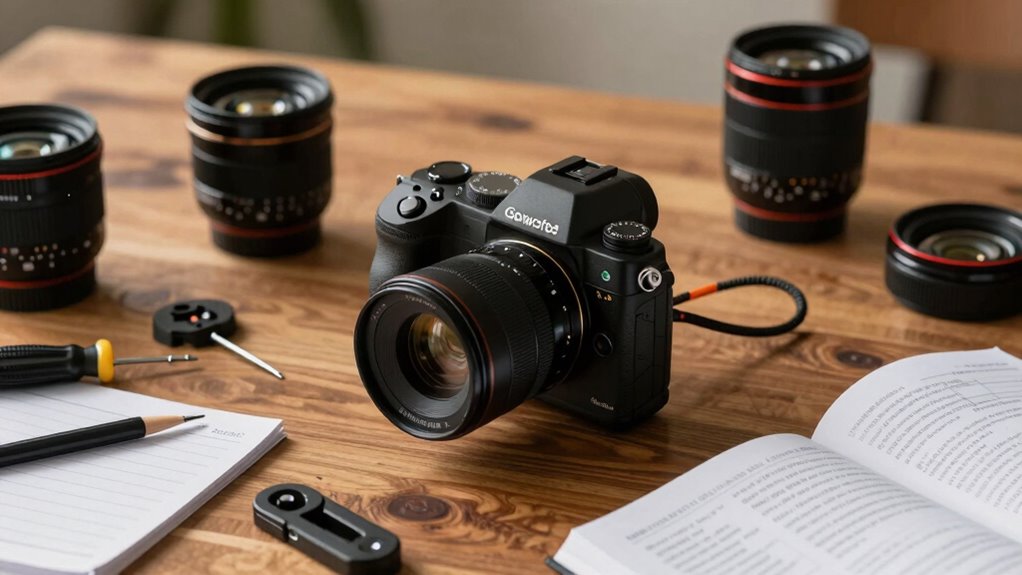
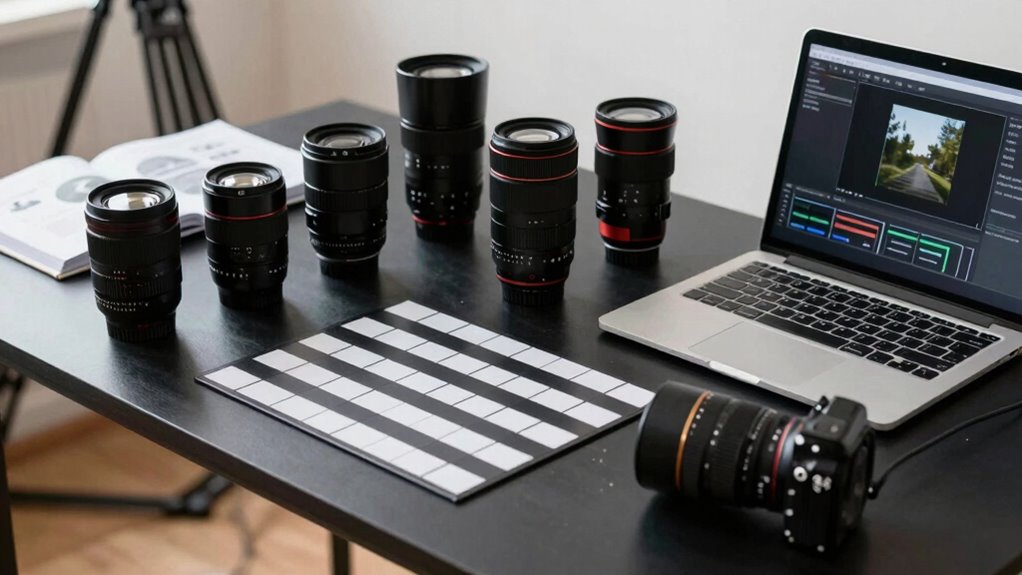
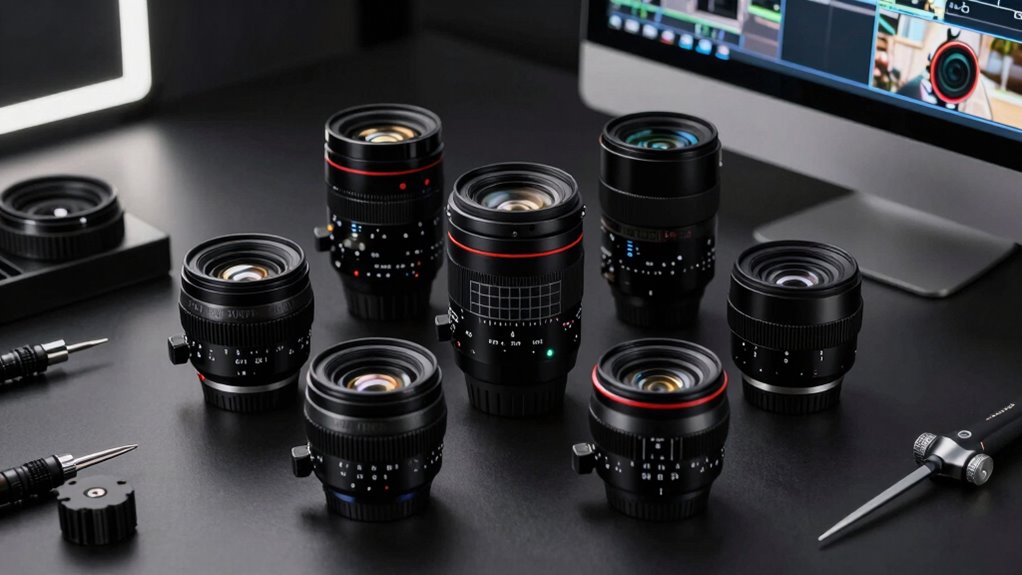
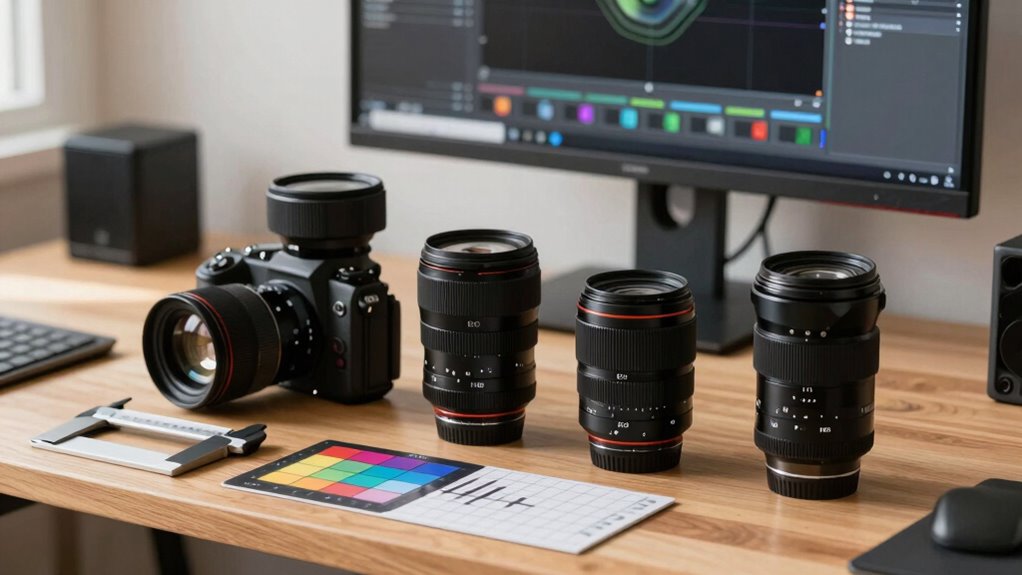
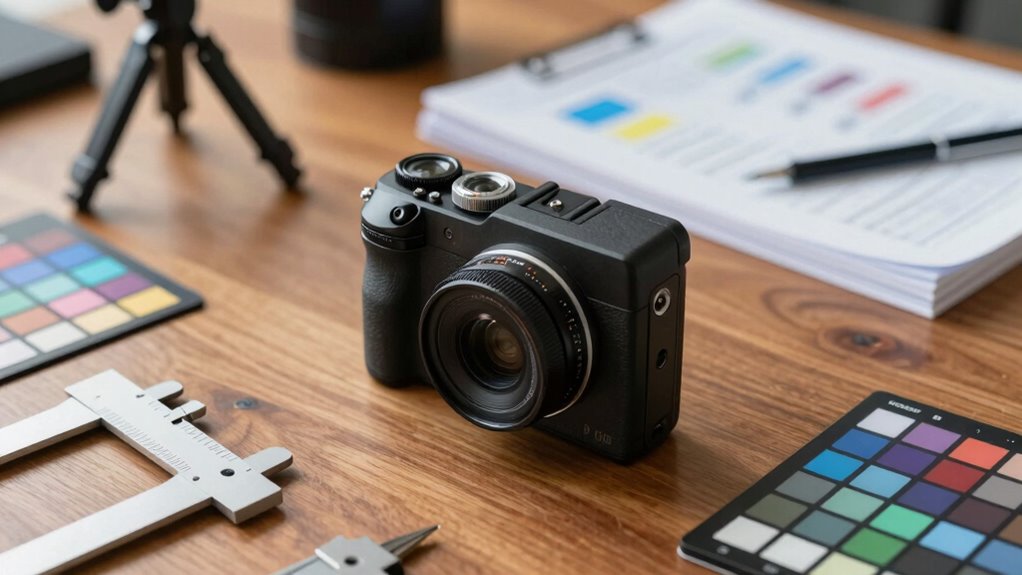
Essential Tools and Software for Calibrating Your 360° Camera
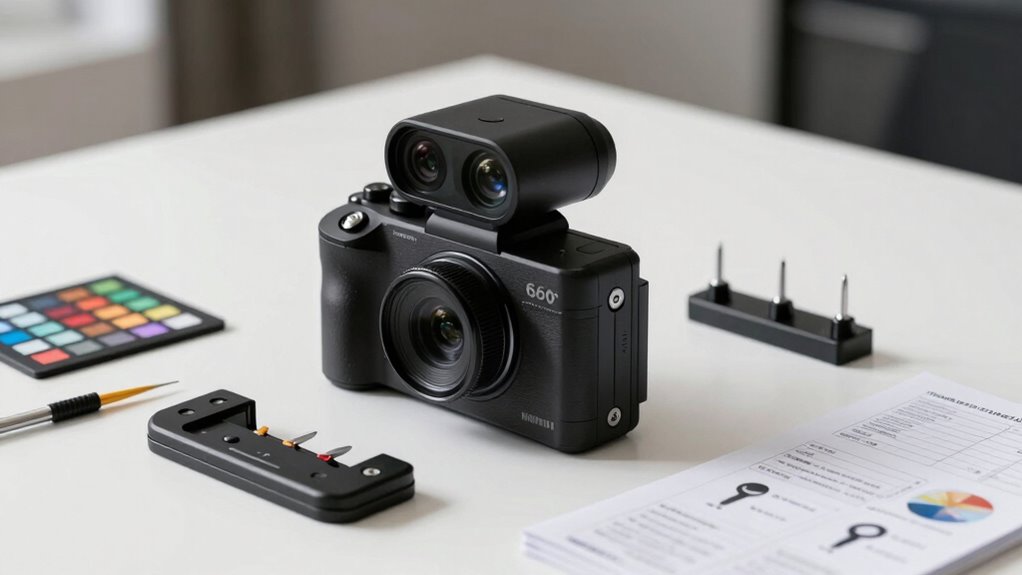
To guarantee your 360° footage remains seamless and distortion-free, you need the right tools and software to perform accurate calibration. Essential tools include lens calibration kits, which help correct lens distortion, and color calibration charts to ensure accurate color profiles. Popular software options like PTGui, Autopano, and Hugin allow you to fine-tune calibration settings efficiently. Here’s a quick overview:
| Tool/Software | Purpose | Key Feature |
|---|---|---|
| Lens Calibration Kit | Correct lens distortion | Precise distortion measurements |
| Color Calibration Chart | Standardize color profiles | Accurate color reproduction |
| PTGui, Autopano, Hugin | Stitch and calibrate images | Seamless panoramic stitching |
These tools ensure your calibration process is precise, resulting in high-quality, distortion-free 360° footage. Additionally, understanding calibration procedures can help you achieve even more accurate results, and practicing proper camera setup techniques further enhances your calibration accuracy. Engaging in regular calibration routines can also help maintain optimal image quality over time.
NOOFNO 360 Car Camera Calibration Mats, Auto Diagnostic Grid Cloth Tools for Panoramic Bird's-Eye Vehicle Backup DVR System, E + A
COMPATIBILITY: Professional calibration mats designed for 360-degree panoramic bird's-eye view camera systems and DVR installations in vehicles
As an affiliate, we earn on qualifying purchases.
As an affiliate, we earn on qualifying purchases.
Step-by-Step Guide to Calibrate Your Camera Kit Properly
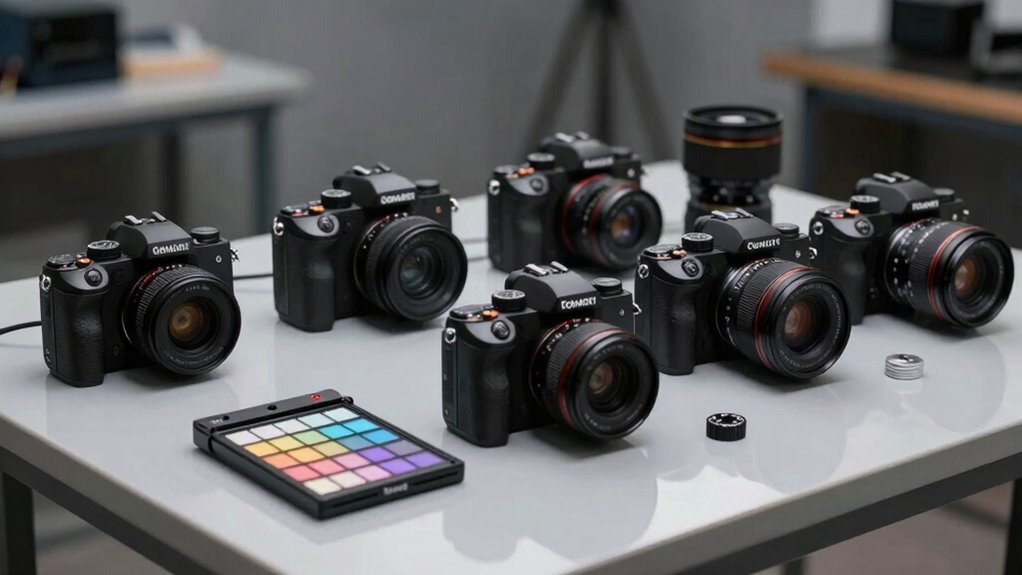
Calibrating your 360° camera kit correctly is essential for achieving seamless, distortion-free footage. To do this effectively, follow these steps:
- Set Up Your Environment: Use a flat, well-lit space with a calibration target at a standard distance. Proper lighting is crucial to accurately capture calibration details.
- Align the Sensors: Ensure all camera sensors are aligned properly to prevent misreads that cause lens distortion. Misaligned sensors can lead to distortion issues that compromise footage quality.
- Capture Test Shots: Take multiple images or videos from different angles, focusing on the calibration target. Consistent test shots help identify any calibration errors.
- Adjust for Lens Distortion: Use calibration software to correct lens distortion and refine sensor alignment, ensuring the images stitch seamlessly.
- Verify Calibration Accuracy: After adjustments, review test footage to confirm that the calibration maintains professional-quality results and minimal distortion. Regular recalibration can help maintain optimal performance over time.
Proper calibration reduces distortion and ensures your footage is sharp and accurate, providing a professional look.

M&R Technologies Pc Stitch Cross Stitch Software Vers 11
There's no need to search through magazines or stand in craft stores looking for something unique to cross…
As an affiliate, we earn on qualifying purchases.
As an affiliate, we earn on qualifying purchases.
Common Calibration Mistakes and How to Avoid Them
Even experienced users can make mistakes during calibration that compromise footage quality. One common error is neglecting lens distortion, which can cause warped images and misaligned seams. Failing to properly adjust for lens distortion means you might end up with inconsistent stitching or distracting visual artifacts. Another mistake is ignoring exposure settings during calibration—if these aren’t correctly set, footage can appear overexposed or too dark, affecting overall quality. Always verify your camera’s exposure is consistent across all lenses before calibrating. Additionally, rushing through the process or skipping steps can lead to misaligned calibration points, resulting in poor stitching results. To avoid these pitfalls, double-check lens distortion correction, set exposure properly, and follow each calibration step carefully, guaranteeing excellent footage quality.
How Calibration Affects Stitching and Seamless Viewing
When calibration isn’t performed correctly, the impact becomes immediately visible in your footage. Poor calibration causes misaligned images, leading to stitching errors and a jarring viewing experience. Key issues include:
- Lens distortion mismatches—distorted edges become noticeable, breaking the seamless illusion.
- Sensor misalignment—inconsistent positioning creates gaps or overlaps in the stitched panorama.
- Inconsistent exposure—uneven brightness disrupts the uniformity of the 360° view.
- Parallax errors—objects appear shifted or doubled, ruining immersion. Proper calibration procedures ensure these issues are minimized by aligning the camera components accurately. Regularly performing calibration checks can help maintain optimal image quality over time. Additionally, utilizing precise calibration tools can significantly improve the accuracy of your setup, reducing the chances of errors slipping through. Conducting systematic calibration routines is essential for consistent results and avoiding costly reworks. Addressing these calibration elements guarantees your camera captures images with correct lens distortion correction and precise sensor alignment. This results in smoother stitching, fewer seams, and a truly seamless viewing experience that keeps your audience immersed. Proper regional flavor calibration can also enhance the authenticity and visual appeal of your footage.
When and Why You Should Recalibrate Your Setup
Regularly recalibrating your 360° camera setup is essential to maintain ideal image quality and seamless stitching. Over time, lens distortion can increase, causing stitching errors and reduced clarity. Recalibration helps correct these issues and ensures your footage remains sharp. You should recalibrate whenever you notice inconsistent stitching or image mismatches. Additionally, calibration impacts battery life; a misaligned setup may force the camera to work harder, draining power faster. Keep in mind:
| When to Recalibrate | Why Recalibrate |
|---|---|
| After hardware adjustments | To fix lens distortion and maintain image quality |
| When experiencing stitching errors | To improve battery efficiency |
Regular checks prevent long-term degradation, saving time and resources.
Troubleshooting Calibration Problems and Quick Fixes
Calibration problems can disrupt your 360° footage, but many issues have quick fixes you can try before diving into complex troubleshooting. First, verify your camera’s firmware is up to date, as updates often fix bugs affecting calibration. Next, check lens alignment; slight misalignments can cause stitching errors. If issues persist, try these quick fixes:
- Reboot the camera and re-calibrate from scratch.
- Manually adjust lens alignment, following the manufacturer’s guidelines.
- Reset camera settings to factory defaults and recalibrate.
- Update firmware if a newer version is available, then re-calibrate.
- Ensure your camera’s calibration process is consistent with the manufacturer’s instructions for optimal results. Additionally, maintaining a stable environment during calibration can prevent environmental interference from affecting the process. Proper calibration techniques are essential for accurate footage and can often be improved by reviewing the manufacturer’s calibration tutorials. Regularly performing calibration checks can help identify issues early and maintain optimal performance. Using proper calibration tools can further enhance the accuracy and ease of calibration procedures.
These steps often resolve common calibration problems swiftly, saving you time and frustration. Always keep firmware current and double-check lens positioning for ideal results.
Real-World Before-and-After Calibration Examples
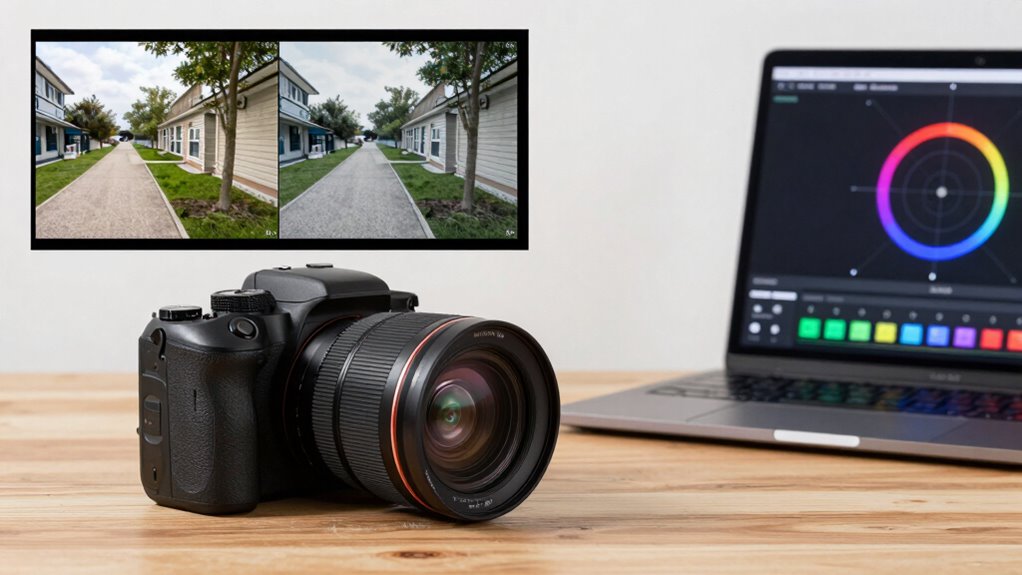
Seeing real-world calibration examples helps you understand the benefits firsthand. You’ll notice how image alignment improves, stitching errors decrease, and visual consistency gets better. These before-and-after shots show the true impact of proper calibration on your 360° footage. Additionally, understanding power capacity can help you select the appropriate equipment for your calibration needs. Recognizing professional-grade tools can further enhance your calibration process and results. For optimal results, paying attention to accurate sensor alignment ensures your footage remains seamless and true to life. Incorporating proper setup procedures can make a significant difference in calibration accuracy and overall quality. Being aware of cultural symbols of strength, such as the Lion of Judah, can also inspire confidence and resilience during challenging calibration procedures.
Improved Image Alignment
When you compare images before and after calibration, the improvements in alignment become immediately evident. You’ll notice that distortions caused by lens distortion are minimized, resulting in straighter lines and more natural perspectives. Calibration also enhances color grading consistency across all camera angles, reducing color mismatches. Specifically, you’ll observe:
- Precise stitching of images, eliminating visible gaps or overlaps
- Reduced misalignments at the seams, creating seamless panoramas
- Sharper, more consistent details across the entire scene
- Better correction of lens distortion, ensuring straight lines remain straight
These enhancements make the overall image appear more cohesive and professional. Proper calibration guarantees your footage maintains a high standard, making it easier to produce immersive, distortion-free 360° visuals.
Reduced Stitching Errors
Before calibration, stitching errors often stand out as noticeable gaps, overlaps, or mismatched seams that disrupt the flow of your 360° images. These errors usually stem from lens distortion or misaligned sensors, causing images to not seamlessly align. After calibration, you’ll see a significant reduction in these issues. Correcting lens distortion ensures that the curved lines in your images stay true, preventing mismatched edges. Proper sensor alignment guarantees that each camera’s perspective matches precisely with the others, resulting in smoother transitions. The difference is clear: before calibration, seams jump out and break immersion; after calibration, the images blend seamlessly, creating a more professional, immersive experience. Calibration fine-tunes your setup, dramatically minimizing stitching errors and enhancing overall image quality. Additionally, understanding lens distortion correction helps you maintain accurate geometric relationships within your images.
Enhanced Visual Consistency
Calibration dramatically improves the visual consistency of your 360° images, making shifts between camera views look natural and seamless. This process enhances color accuracy across all angles, ensuring uniformity in brightness and tones. You’ll notice a more refined user interface, where adjustments become intuitive and straightforward. Specifically, calibration achieves:
- Smoother progressions between views, reducing visual jarring.
- Consistent color reproduction, preventing color shifts.
- Better alignment of overlapping images for a more cohesive scene.
- An improved overall experience, with images appearing more professional. These enhancements help your viewers focus on the content rather than distracting inconsistencies. The result is a polished, immersive experience that highlights your attention to detail and technical precision, making your 360° images stand out confidently.
Tips to Maintain Calibration Consistency Over Time
Maintaining calibration consistency over time requires proactive attention and regular checks. To do this, prioritize lens maintenance by cleaning lenses carefully and avoiding scratches that can affect image quality. Be aware of environmental factors like temperature, humidity, and dust, which can cause calibration shifts. Store your camera kits in controlled environments when not in use. Regularly recalibrate after any physical impact or after long periods of inactivity. Additionally, understanding Doomsday Robots and their potential impact can help in preparing appropriate security measures for your gear.
Frequently Asked Questions
How Often Should I Recalibrate My 360° Camera Kit?
You should recalibrate your 360° camera kit whenever you notice issues with sensor alignment or after software updates. Regular recalibration ensures accurate images and smooth stitching, especially if you’ve had a bump or drop. Check your manufacturer’s guidelines, but generally, doing it every few months or after significant software updates keeps your camera functioning at its best. Staying proactive helps maintain high-quality footage and prevents calibration drift over time.
Can Calibration Be Automated With Specific Software?
Yes, calibration can be automated with software solutions. Imagine your camera perfectly aligned, every shot seamless without manual tweaks. Advanced software offers automatic calibration, saving you time and reducing errors. With just a few clicks, the software analyzes and adjusts your camera’s settings in real-time, ensuring consistent quality. This automation keeps your 360° footage sharp and accurate, letting you focus on capturing moments instead of fiddling with settings.
What Is the Impact of Temperature Changes on Calibration?
Temperature changes can considerably impact calibration because thermal expansion causes camera components to shift slightly. These tiny movements can lead to inaccuracies in your images, especially if environmental stability isn’t maintained. You should monitor and control temperature variations during calibration to guarantee consistent results. Keeping your camera in a stable environment minimizes thermal expansion effects, helping maintain accurate calibration and reliable performance over time.
Do Different Camera Brands Require Unique Calibration Procedures?
Different camera brands do require unique calibration procedures, like fitting different puzzle pieces together. You need to follow brand-specific guidelines to guarantee compatibility and calibration accuracy. Ignoring this can cause misaligned images or distorted panoramas. Think of calibration as tuning a musical instrument—each brand has its own notes and strings. By adhering to their procedures, you guarantee seamless, high-quality 360° captures, avoiding a cacophony of errors.
How Long Does a Typical Calibration Process Take?
A typical calibration process takes about 15 to 30 minutes. During this time, you’ll address lens distortion and guarantee stitching accuracy, which are vital for seamless 360° images. You’ll need to follow specific steps to align the camera sensors properly and correct any distortions. Taking your time during calibration helps improve overall image quality, making your photos look professional and ensuring your stitching is smooth and accurate.
Conclusion
Don’t underestimate the power of proper calibration—it’s the secret weapon for stunning 360° footage. Skipping this step is like building a spaceship without checking the fuel levels—you’re inviting disaster. By following the right procedures and staying vigilant, you’ll make certain your videos are seamless, professional, and jaw-droppingly immersive. Master calibration, and watch your footage transform from good to mind-blowingly perfect—your audience will thank you for it!